How to Buy Your First Thermal Optic
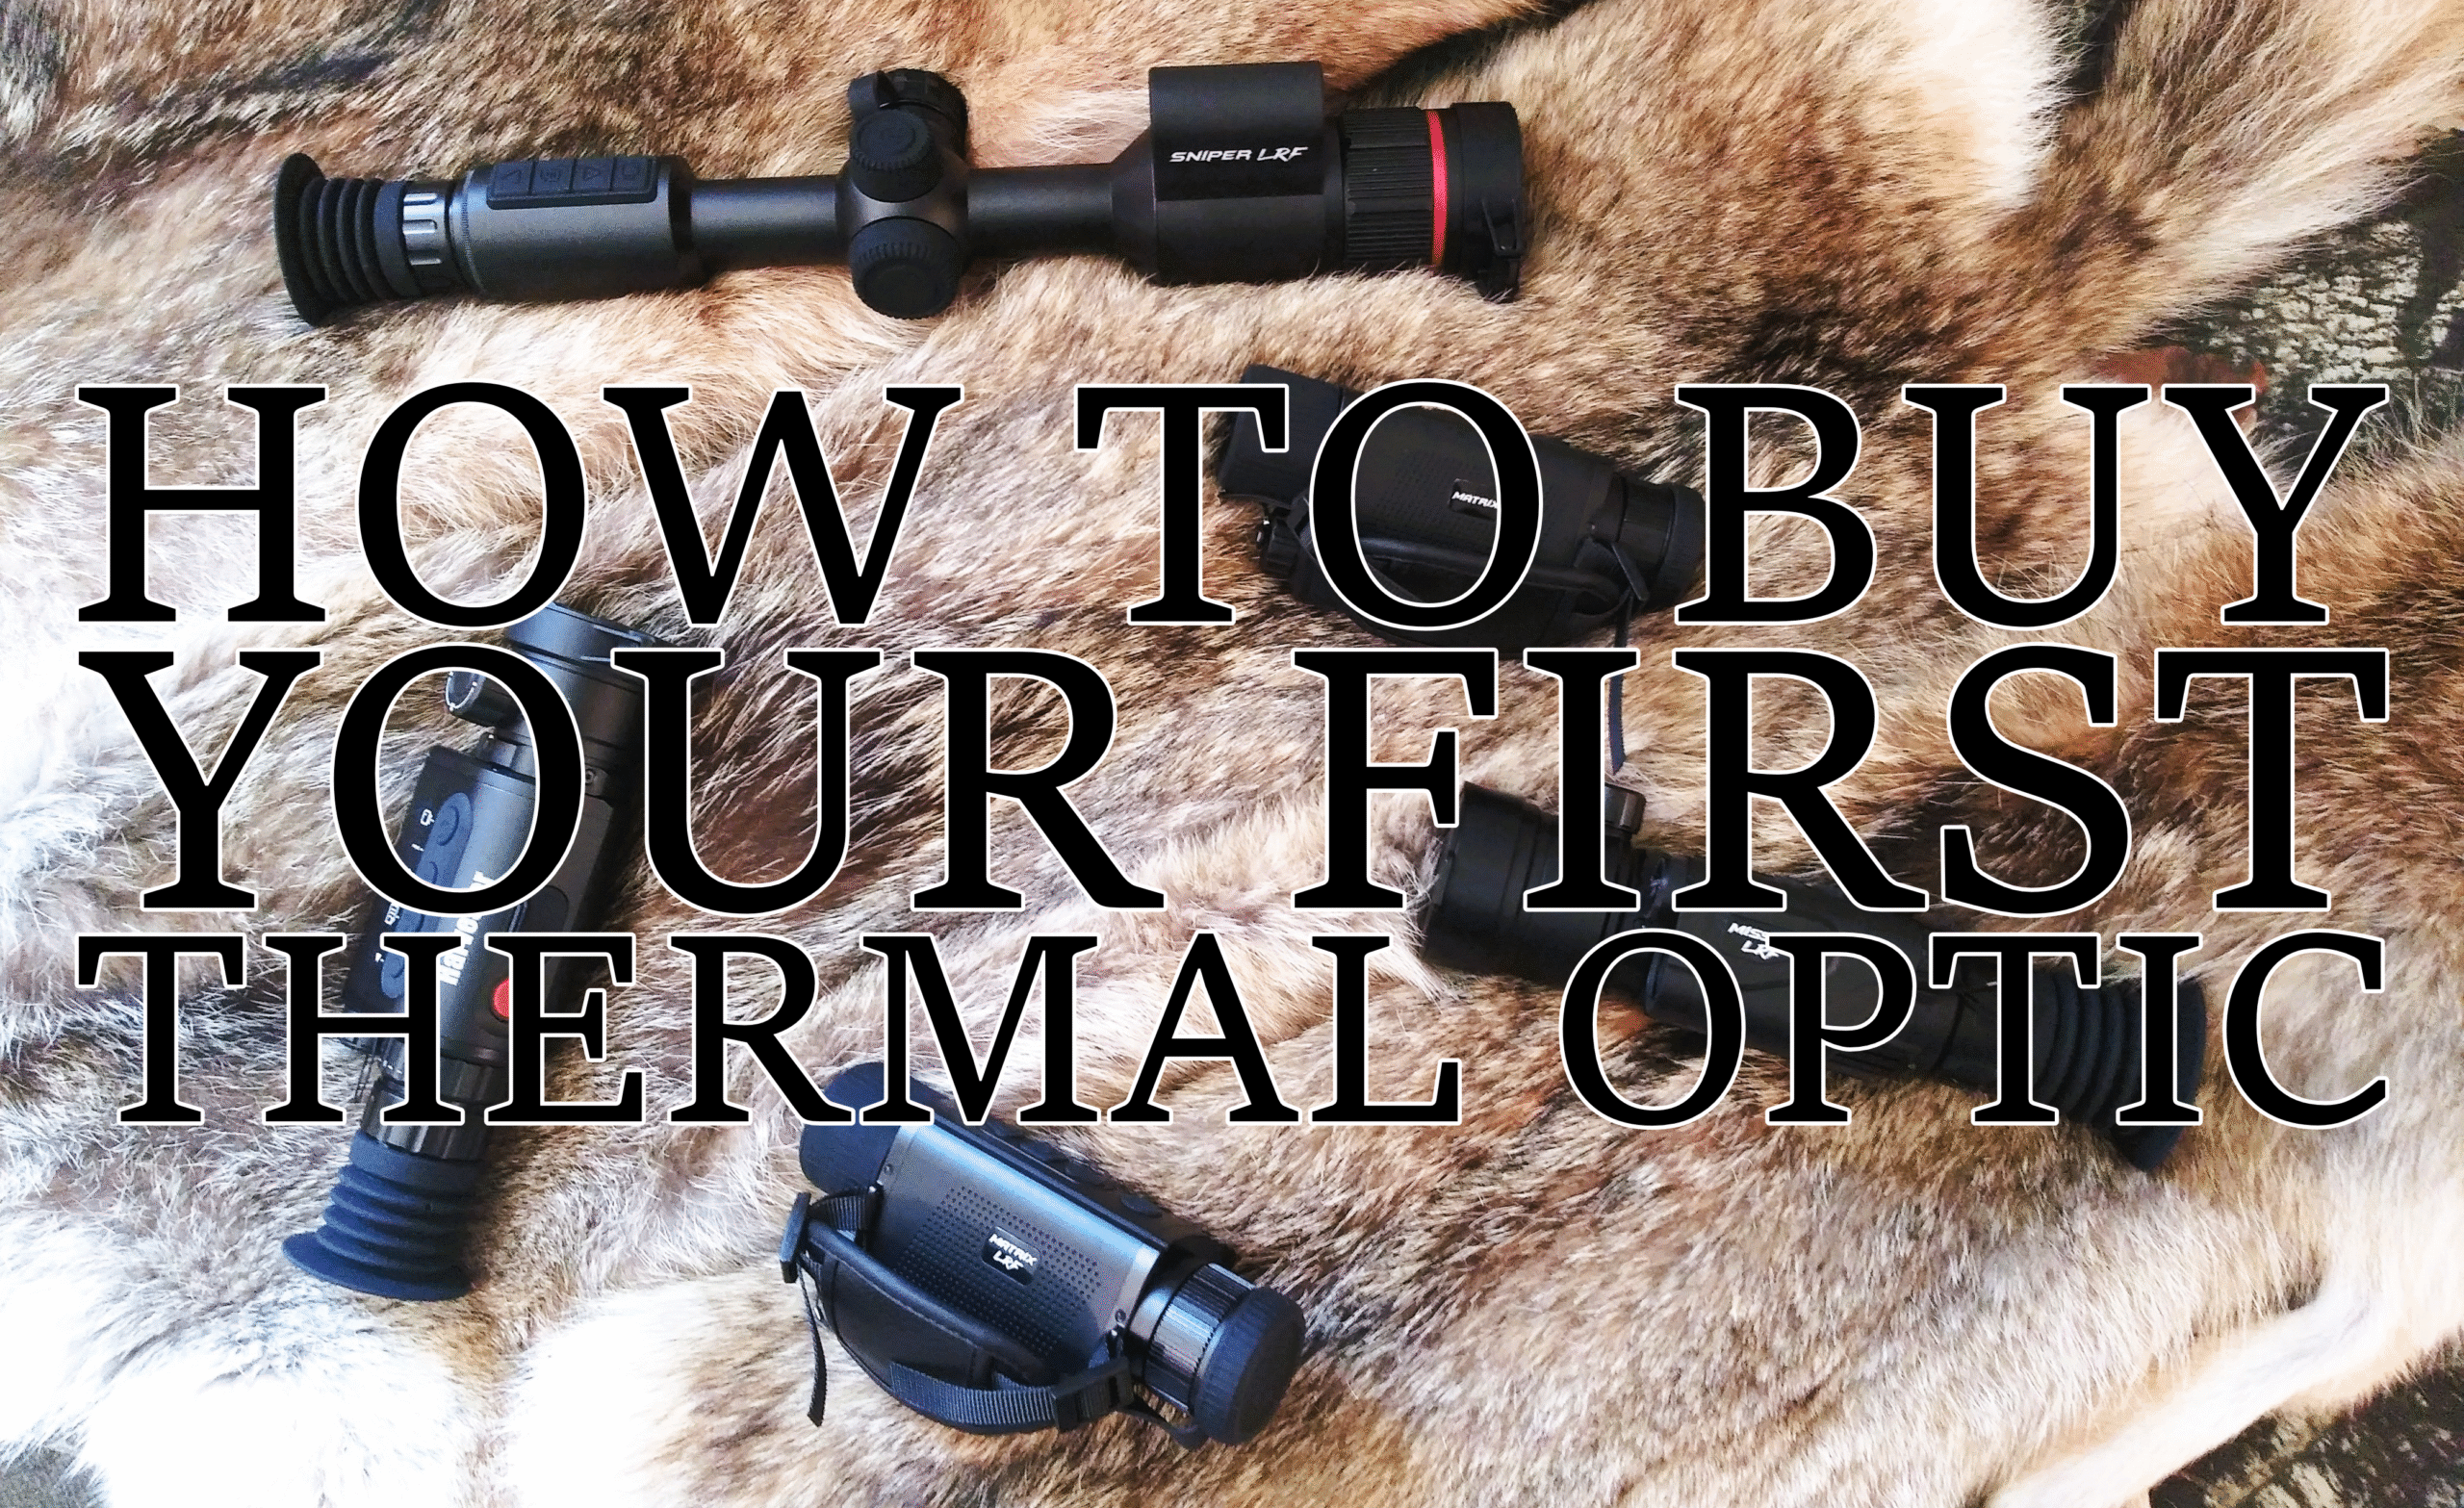
Thermal optics have revolutionized hunting at night, giving hunters the ability to spot game in complete darkness by detecting heat signatures. Whether you’re gearing up for your first nighttime hunt or looking to swap your lights for cutting-edge thermal gear, buying your first thermal optic can feel overwhelming. Between technical specs like base magnification, core size, refresh rates, and millikelvin ratings, the sheer number of options on the market can leave you scratching your head.
Don’t worry—we’ve got you covered! This guide will simplify the complexities of thermal optics, helping you understand what matters and what doesn’t, so you can confidently learn how to buy your first thermal optic without a headache.
What Are Thermal Optics and Why Are They Useful?
Thermal optics are devices that detect heat signatures, transforming infrared radiation into a visible image. Unlike traditional night vision, thermal technology doesn’t rely on ambient light, making it incredibly effective in total darkness and difficult weather conditions.
Picture this: you’re scanning a field at night, and suddenly, the heat from a distant coyote stands out bright and clear on your screen. That’s the magic of thermal optics! They allow hunters to see through foliage, spot game beyond the reach of flashlights, and stay undetected while hunting.
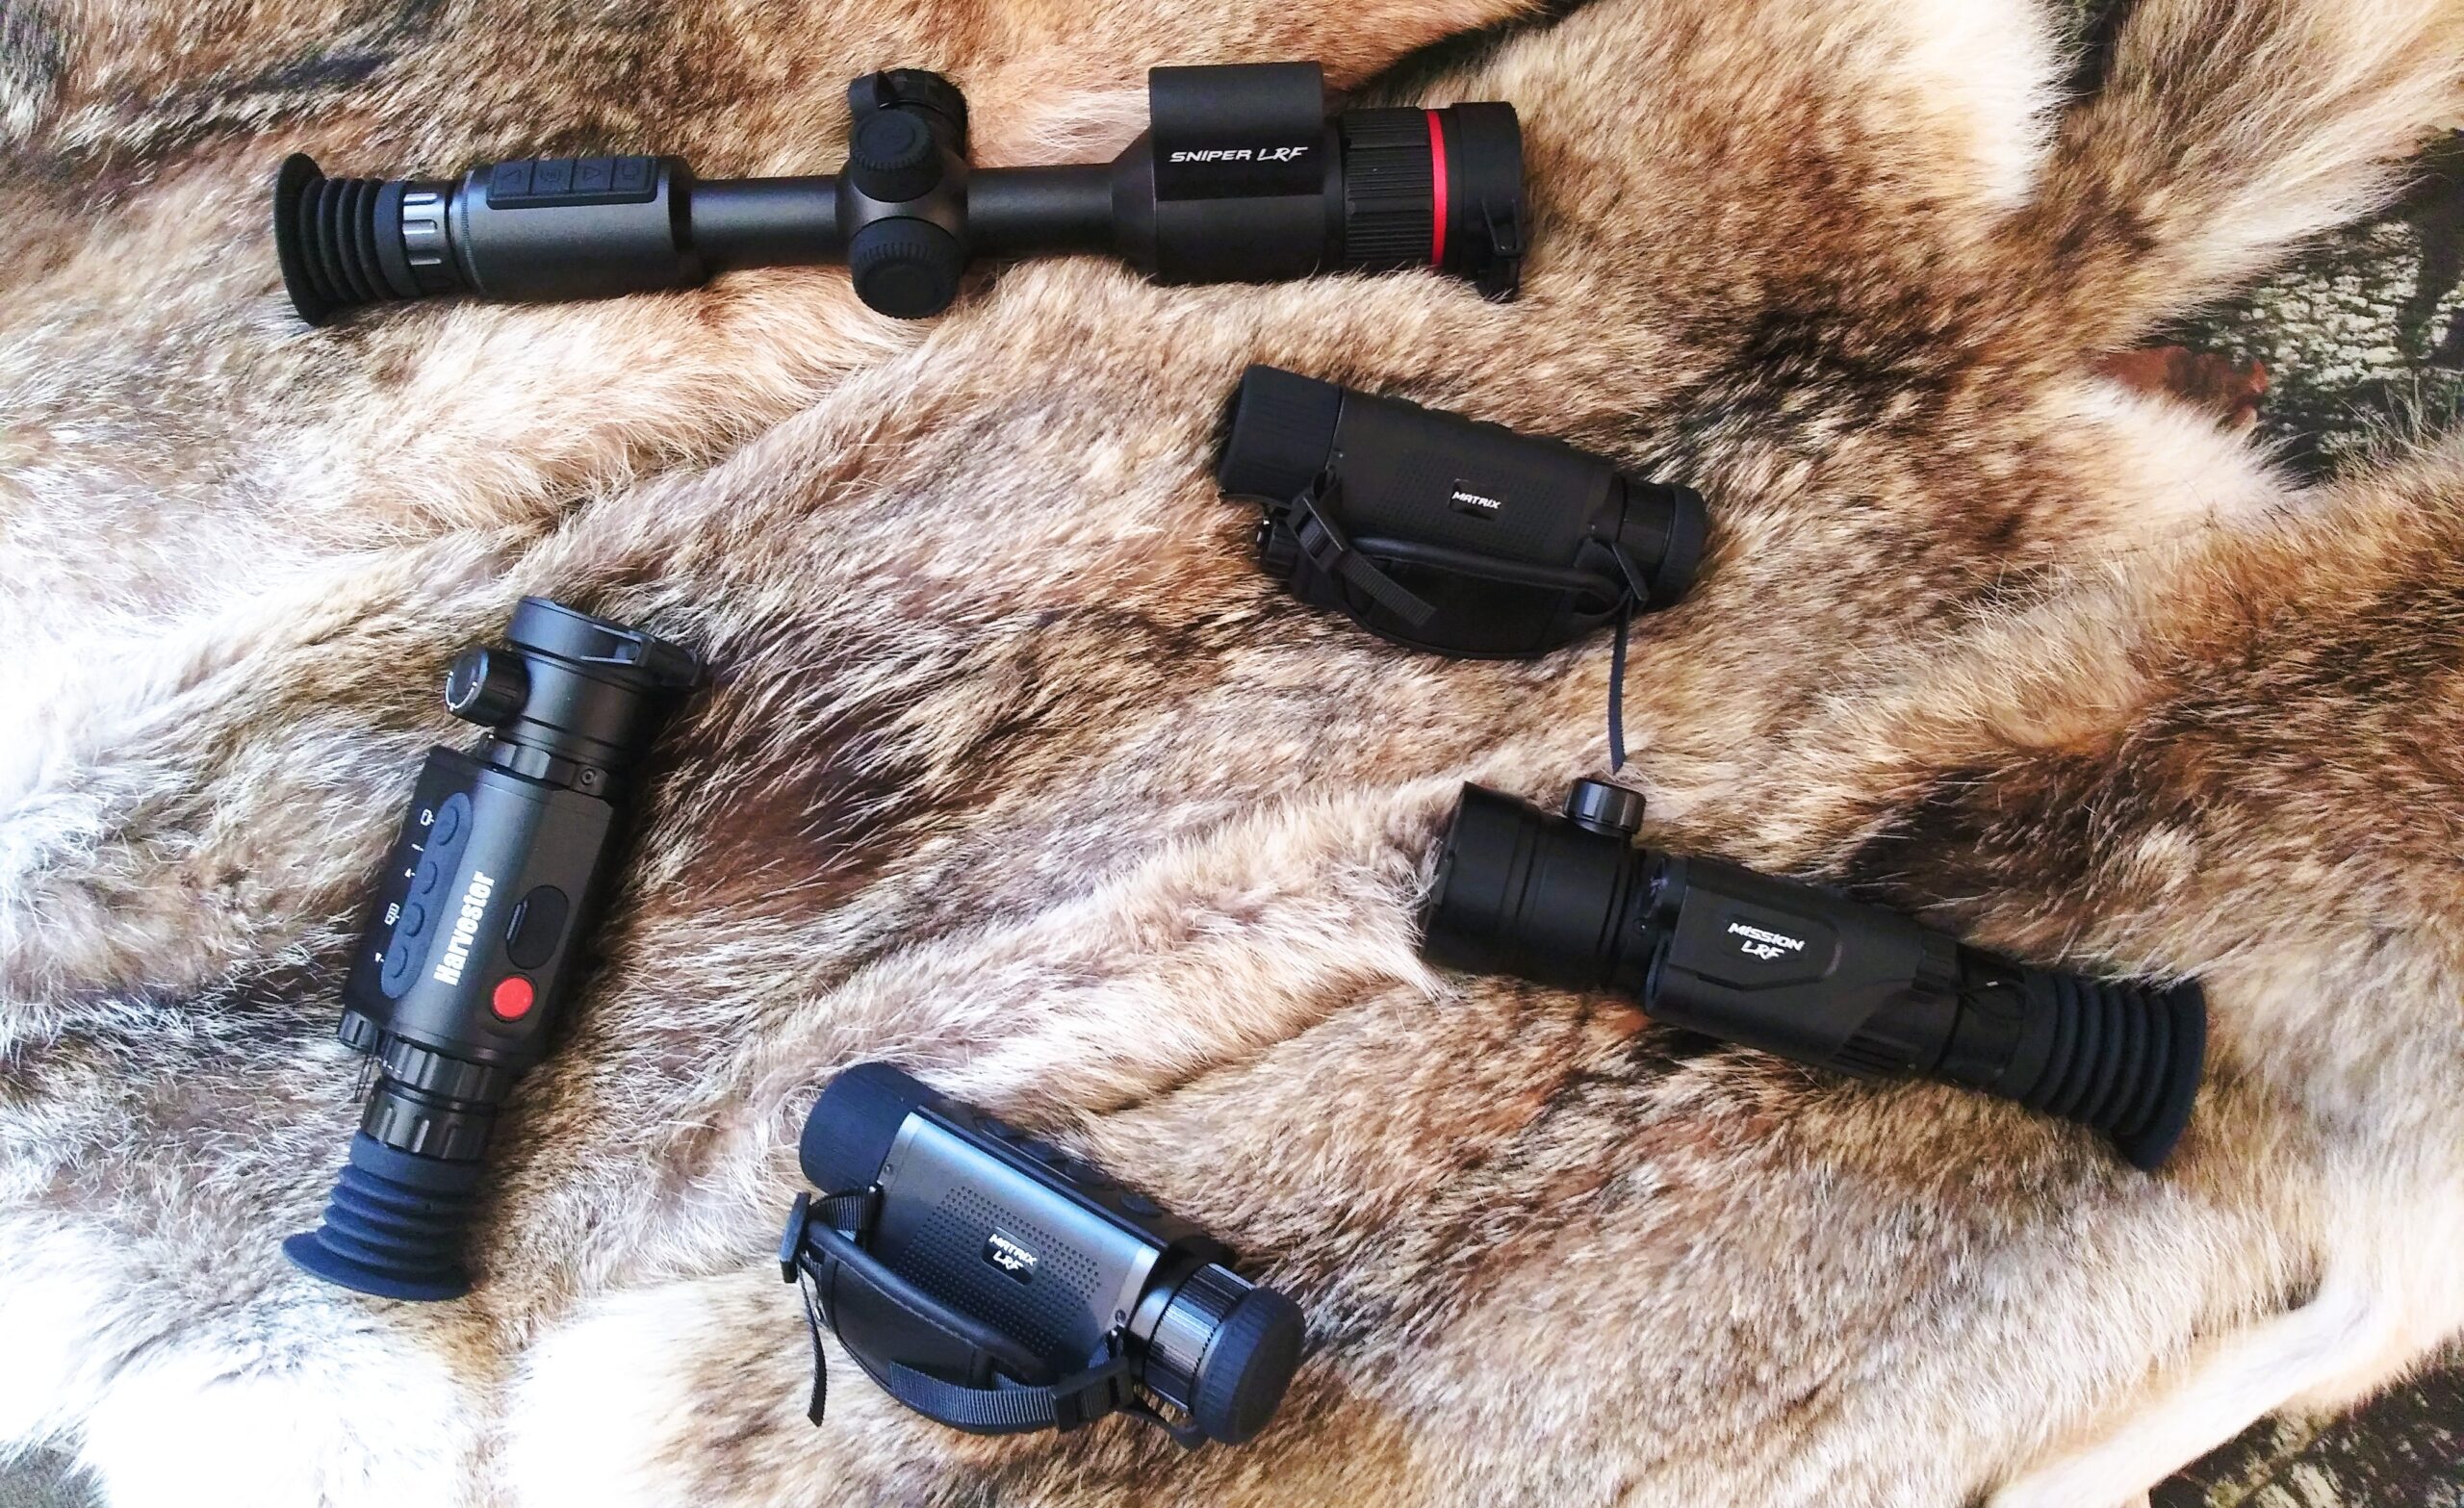
Understanding Key Features of Thermal Optics
Core Size & Image Quality
The core is the “engine” behind your thermal optic, converting infrared heat into visible images. Core size plays a critical role in determining image resolution and clarity. Here’s a breakdown of common core sizes and what they mean for you:
- 256×192 (Entry-Level): Basic clarity for short-range detection. Affordable but limited in detail.
- 384×288 (Mid-Tier): A good balance of price and image quality, ideal for general-purpose hunting.
- 640×512 (High-End): Excellent clarity with sharp detail for long-range hunting.
- 1280×1024 (Premium): Unparalleled resolution for professional-grade performance.
For beginners looking to experiment with predator hunting or shorter ranges, starting with a 384×288 core size is a safe bet.
Objective Lens Size
The objective lens, located at the front of your thermal scope, determines how much infrared light the device collects. Larger lenses can gather more thermal energy, providing enhanced details at longer distances. However, they also make the device heavier and more expensive.
- 13mm–35mm: Perfect for short-range hunting and lightweight mobility.
- 50mm: A versatile option for medium- to long-range scenarios.
- 70mm+: Ideal for pinpointing game at great distances but may feel cumbersome.
If you’re hunting in dense woods or brush, a smaller objective lens paired with greater field of view works wonders. For open fields, opt for a larger lens.
Base Magnification and Field of View (FOV)
Base magnification refers to how “zoomed in” your optic is by default, without using digital zoom. This impacts how clear the image appears at different ranges.
- 1x–2.5x Base Magnification: Offers a wide field of view (FOV), perfect for scanning large areas.
- 3x–4x Base Magnification: Provides focused clarity, especially for long-distance shots, but narrows the FOV.
If your hunting environment involves fast-moving targets in shorter ranges, prioritize a lower base magnification with a wider FOV. Open terrain hunters might benefit from higher magnification to zero in on distant prey.
Millikelvin (mK) Ratings for Sensor Sensitivity
Millikelvin ratings (measured as NETD) indicate how well your thermal optic can detect subtle temperature differences. A lower millikelvin value means sharper and more detailed images.
- <18mK–25mK: Exceptional sensitivity, excellent for challenging conditions like fog or cold nights.
- <35mK–40mK: Good sensitivity for general hunting needs.
- <50mK: Acceptable for beginners on a budget.
Display Resolution for Crisp Imagery
Display resolution determines the sharpness of the image you see through your thermal scope. Here’s a quick resolution guide for comparison:
- 160×120: Budget-friendly, basic clarity.
- 320×240: Moderate detail for casual use.
- 384×288: A balanced option for clarity and cost.
- 640×512: Pro-level resolution for vivid, high-quality imagery.
- 1024×768 or higher: Ultra-crisp, perfect for discerning professionals.
While higher display resolution means better visuals, the cost increases significantly. Select a resolution that meets your budget and hunting style.
Refresh Rates
The refresh rate measures how often the image updates on your optic’s screen. Faster refresh rates ensure smoother motion tracking and improved scanning for moving targets.
- 50Hz to 60Hz is recommended for most hunting situations.
- 90Hz+ provides buttery smooth visuals, though it’s not always necessary for beginners, and only a select few optics on the market hold this refresh rate presently.
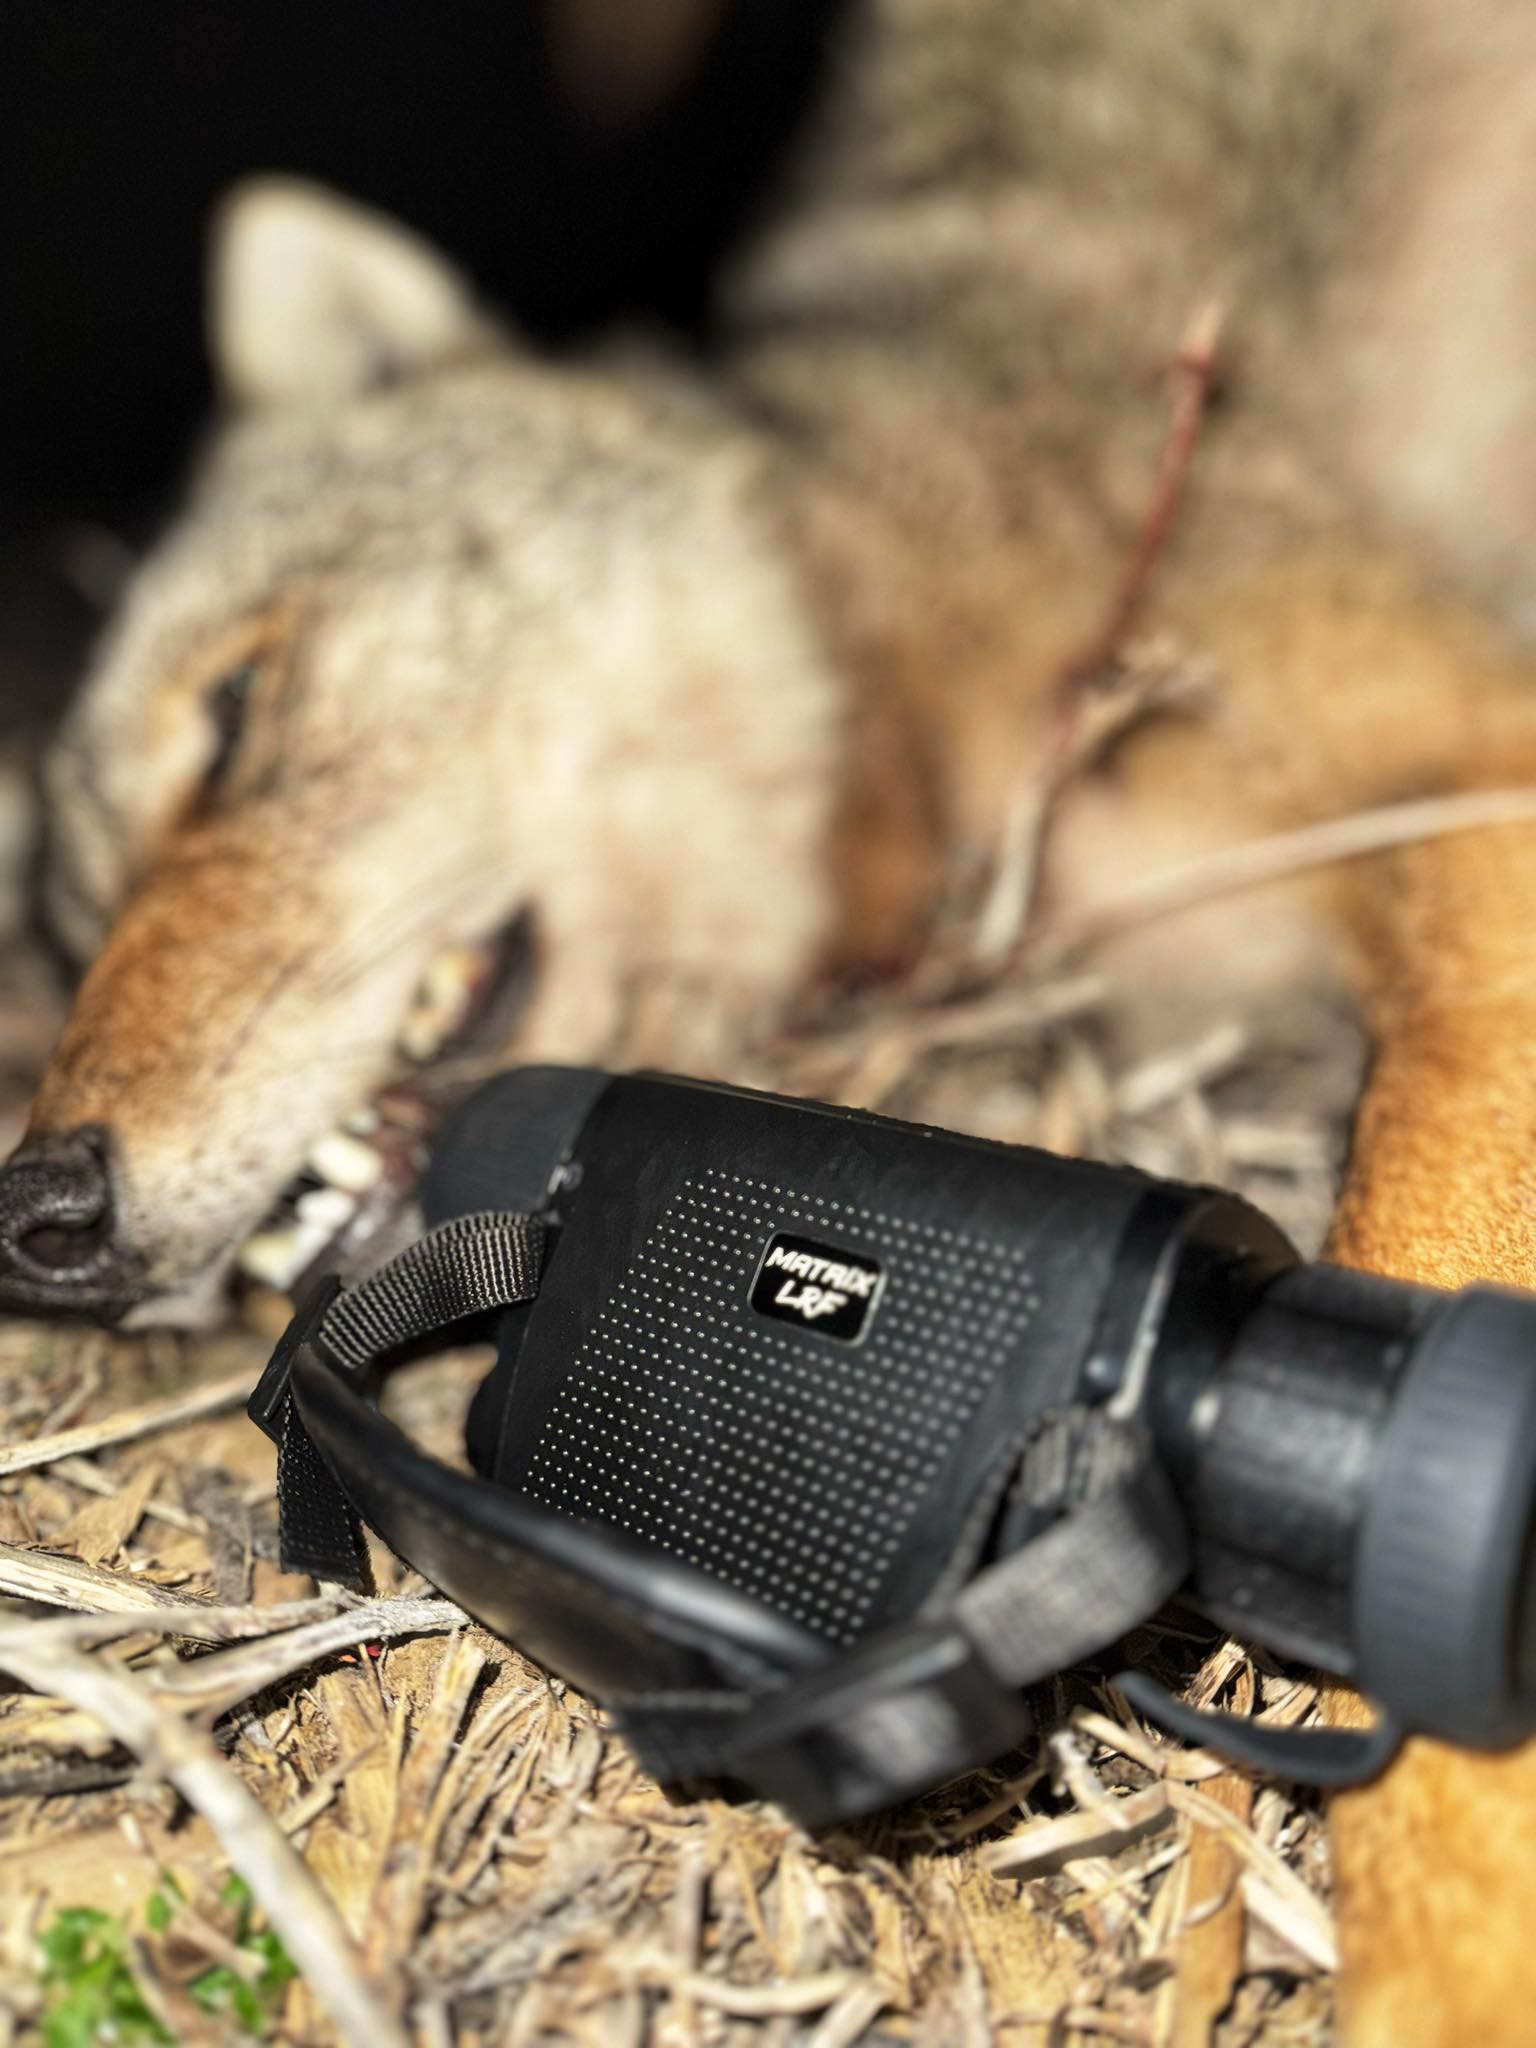
Laser Rangefinder (LRF): Is It Worth It?
Some thermal optics include a built-in laser rangefinder to measure the exact distance to your target. While this is a premium feature, it’s incredibly useful for long-range precision.
- Who needs it? Hunters taking longer shots or frequently exploring open landscapes.
- Who doesn’t? Short- to mid-range hunters working within cozy settings like dense woods.
Keep your budget and distance needs in mind when considering this feature.
Handling Fog and Environment Factors
Thermal scopes perform best in clear conditions but can struggle in fog, heavy rain, or high humidity. To mitigate this, prioritize devices with lower millikelvin ratings and high sensor sensitivity. If you frequently hunt in variable weather, investing in more advanced optics pays off.
Setting Your Budget
Thermal optics span a wide price range, so it’s crucial to match your choice with your specific needs. Here’s a general breakdown of what you can expect at different price points:
- Entry-Level ($500–$1,500) Basic thermal devices for short-range detection. Ideal for casual hunters starting out.
- Mid-Tier ($2,000–$4,000) Higher resolution, improved range, and additional features like adjustable magnification.
- High-End ($5,000+) The premium territory with cutting-edge image quality, extended range, and advanced add-ons like integrated Bluetooth and cloud connectivity.
Pro Tip: Start small, experiment with an entry level to mid tier device, and upgrade as your experience and aspirations grow.
Make Your First Hunt a Success
Purchasing your first thermal optic doesn’t have to be overwhelming. By focusing on the essential features outlined above, you can confidently make an informed decision tailored to your hunting style and budget.
Remember, the goal is to enhance your night hunting experience—not to get bogged down by technical specs. Spend time researching, try out a few models if possible, and don’t be afraid to ask for advice from experienced hunters or retailers.
With the right thermal optic in your arsenal, the thrill of hunting after the sun goes down is just a lens away.
Still have questions about thermal optics? 🧐
At Predator Thermal Optics, we’re passionate about pairing you with the right gear. From expert advice to top-tier devices for every budget, we’re here to make your thermal optic purchase seamless and stress-free.
Explore our collection or reach out to our team—we’re always happy to help!